
What scarifying actually does
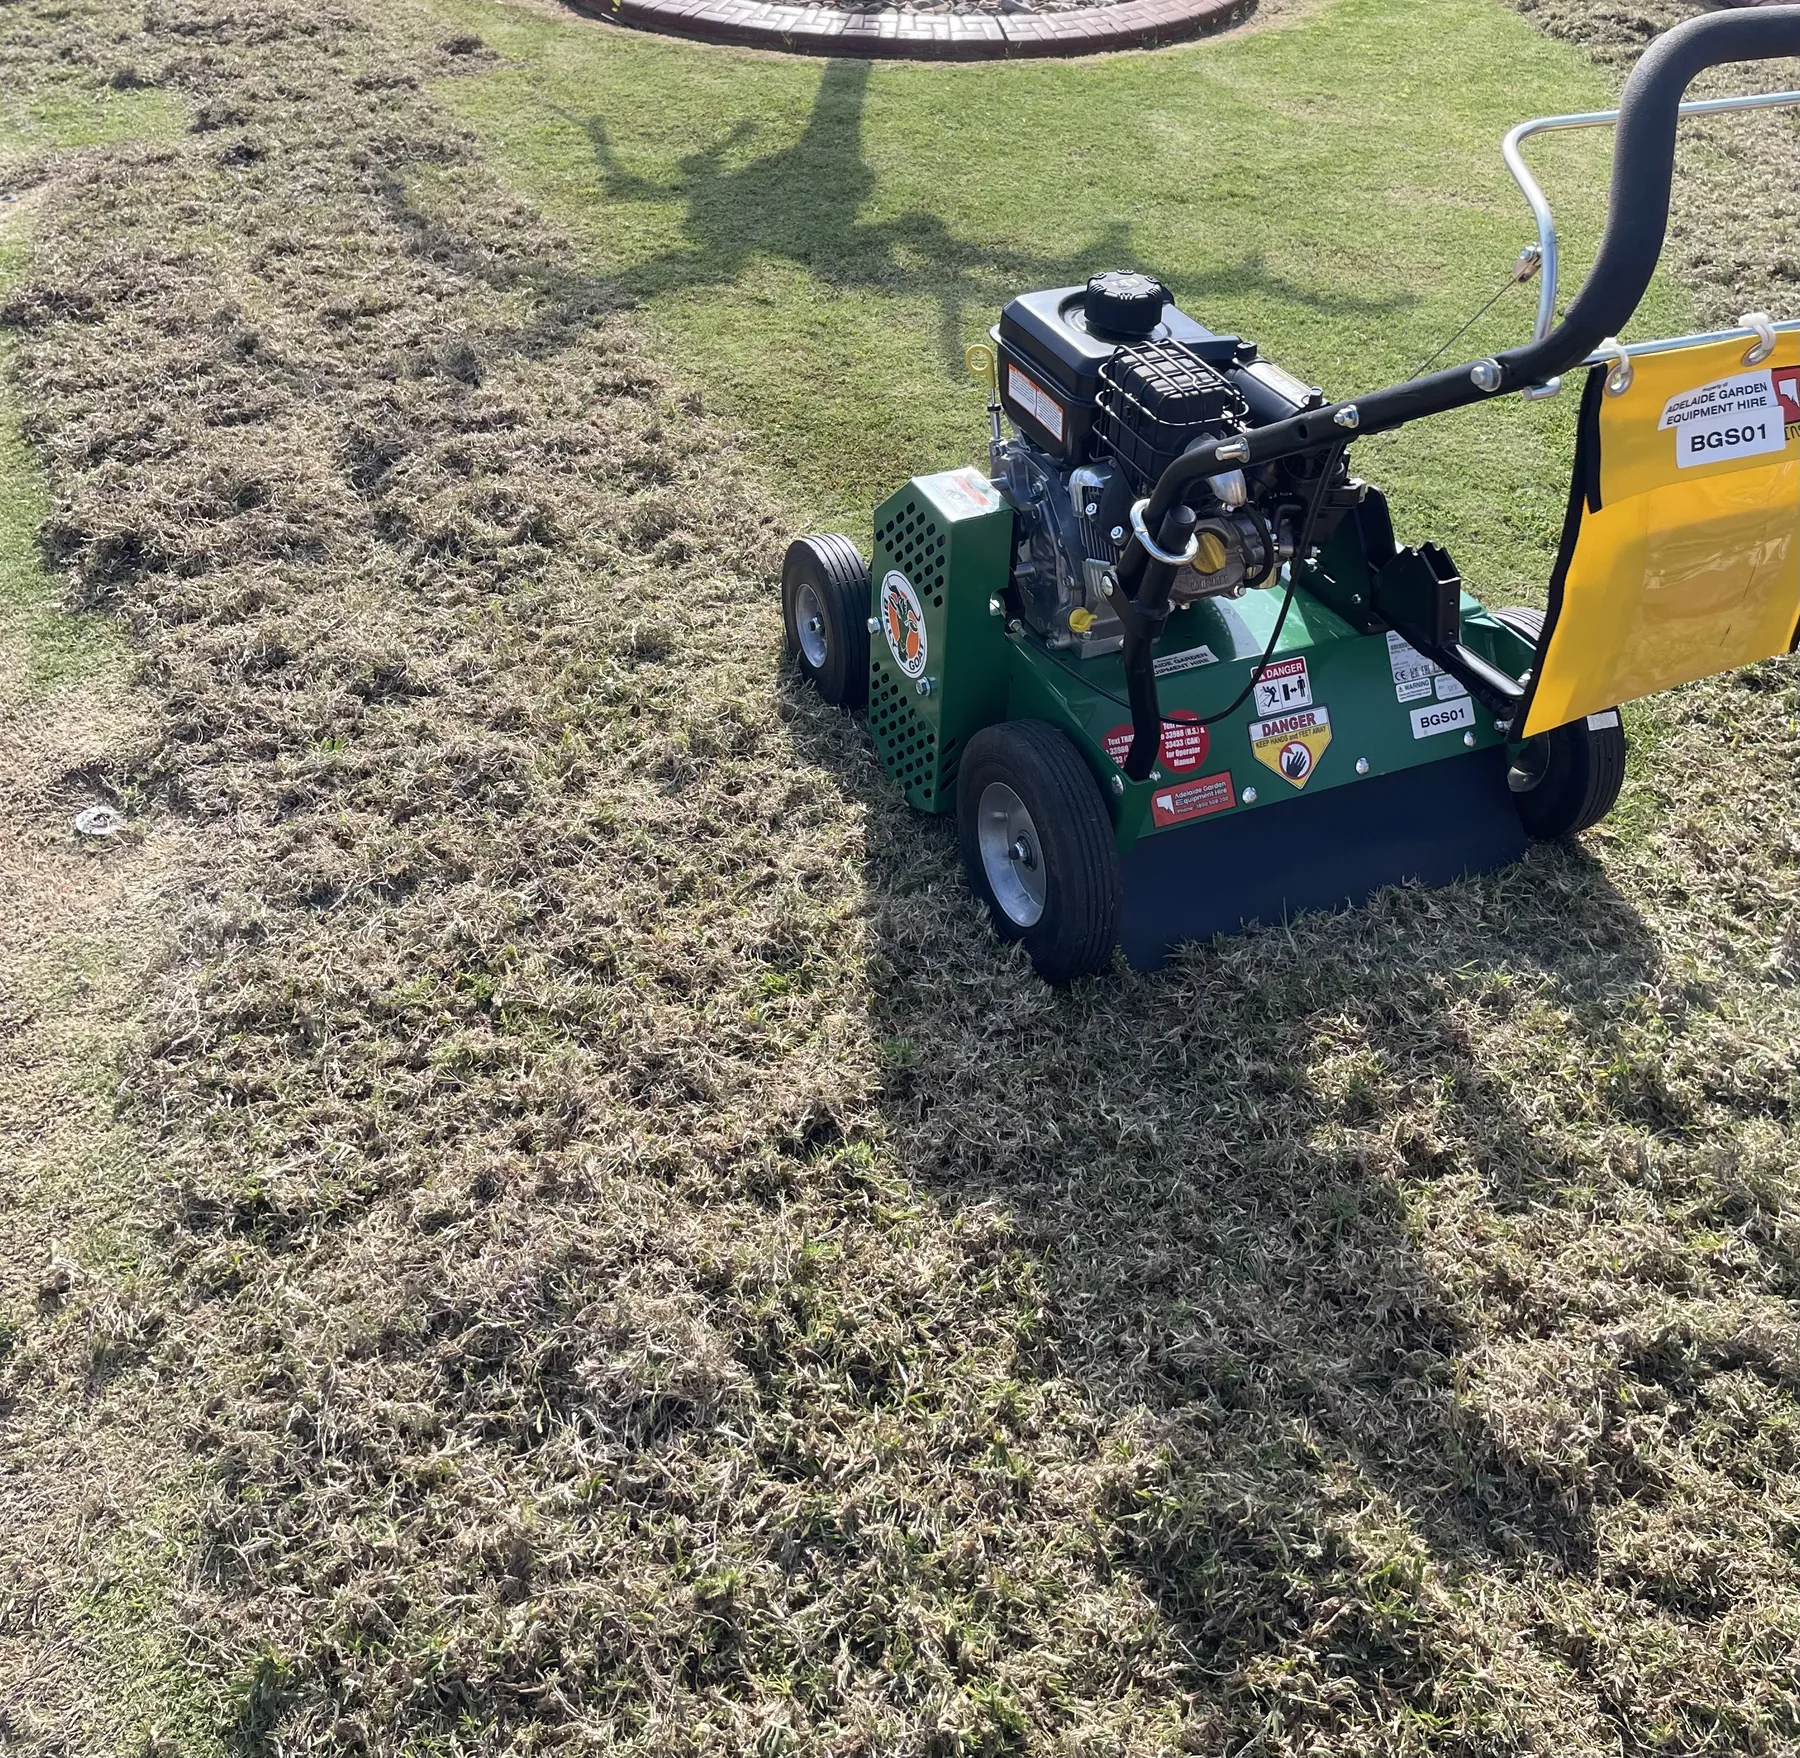
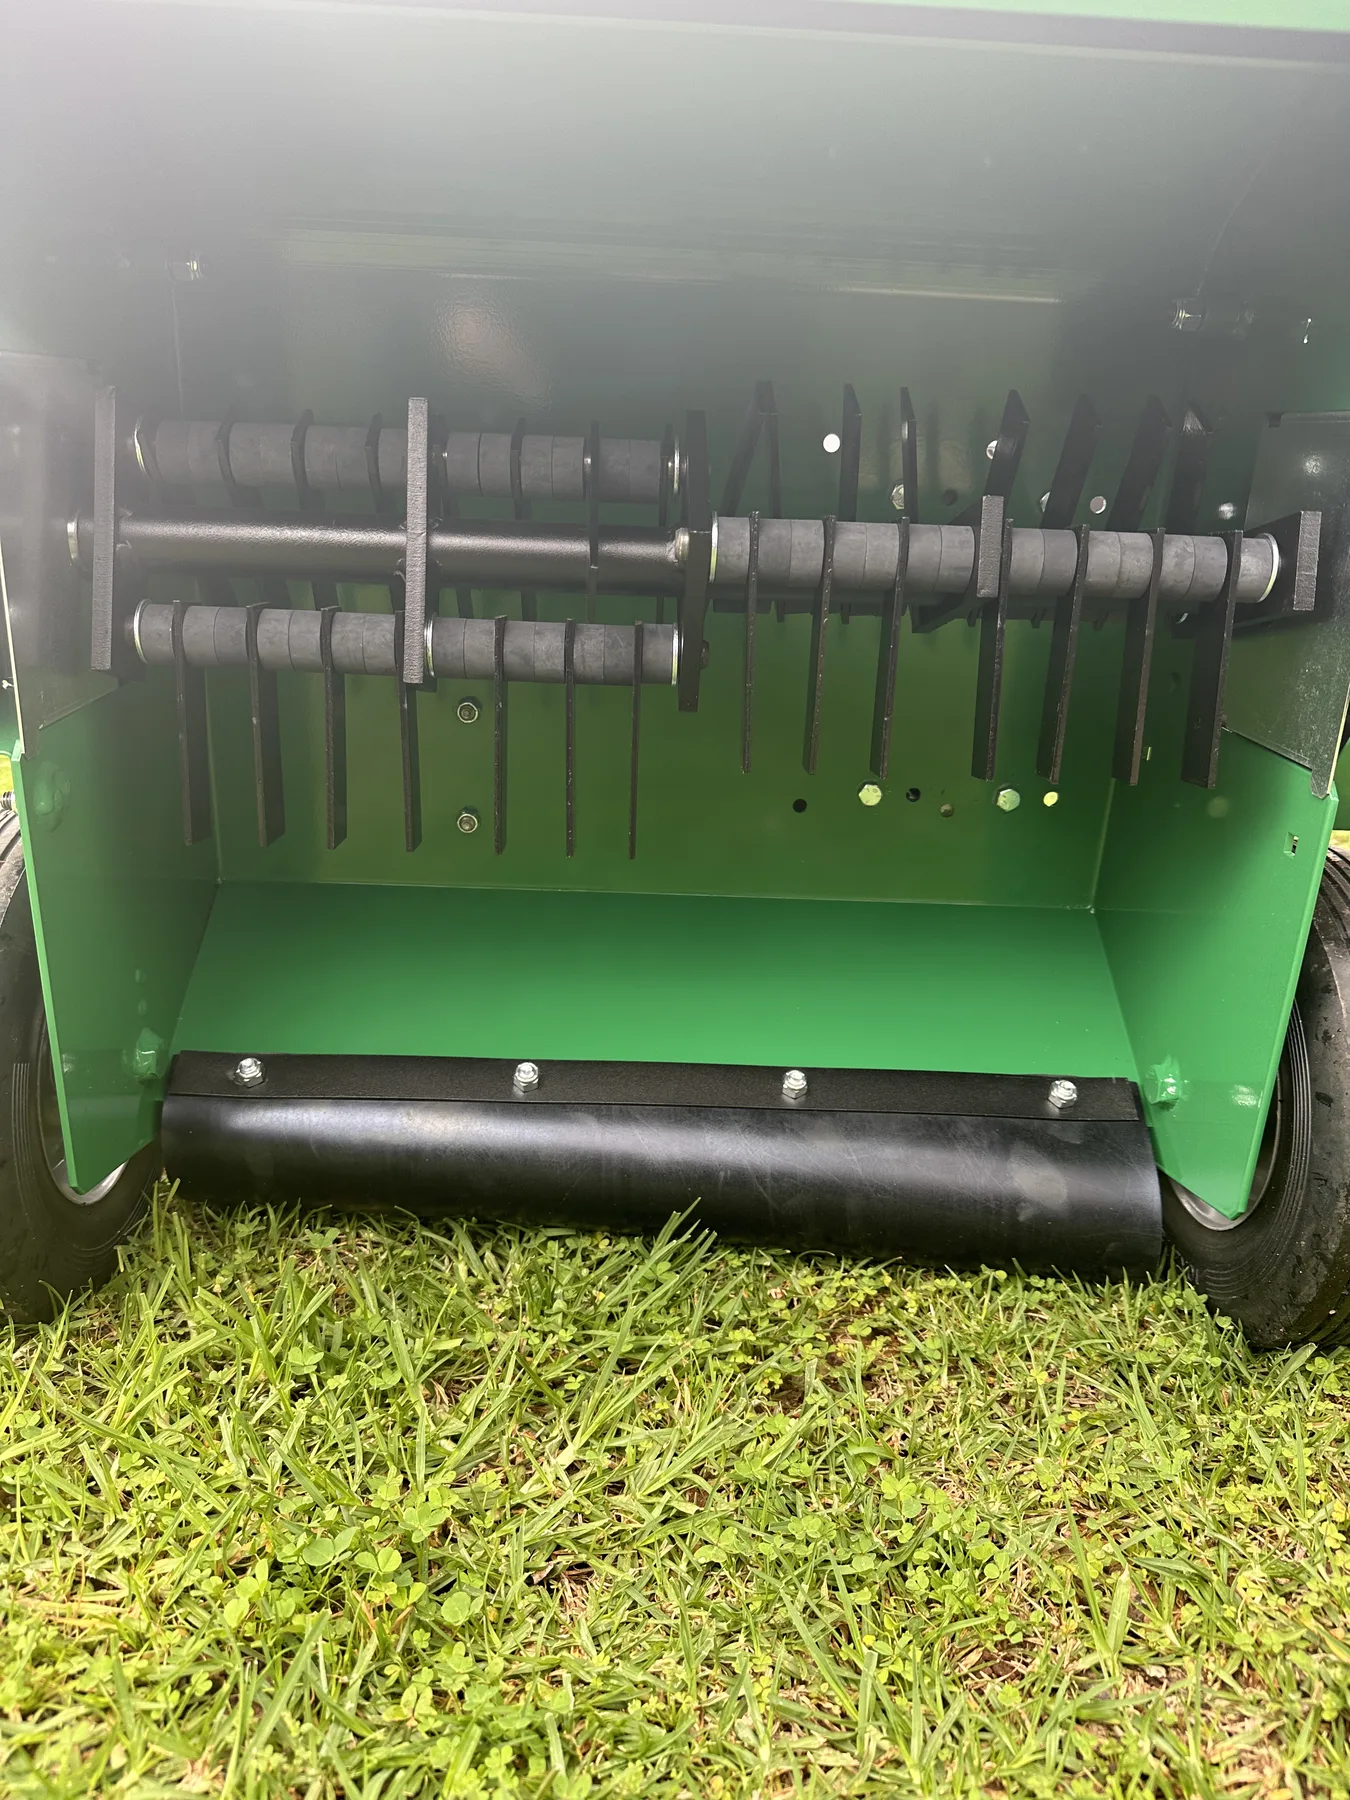
A scarifier uses a set of vertical blades to lift accumulated thatch and dead material from the lawn canopy. It is not a deeper version of mowing, and it is not the same as core aeration. The goal is to remove an excessive layer that is getting in the way of healthy growth.
Step 1 — Confirm there is excess thatch
Part the lawn and look below the green leaves. A small amount of organic material is normal. Scarifying becomes relevant when the brown layer is thick, spongy and stopping water from reaching the soil evenly.
Step 2 — Identify the grass
Buffalo, couch, kikuyu and cool-season lawns do not all recover in the same way. Buffalo needs a gentler approach because it relies mainly on above-ground runners. If the lawn type is unclear, use the lawn-types guide before setting the machine.
Step 3 — Choose a recovery window
Pick a period of active growth with manageable weather and enough time for aftercare. Avoid a major scarify when the lawn is dormant, under severe stress or unable to receive the water it needs afterward.
Step 4 — Prepare the site
Mow first, collect loose material and mark irrigation heads, cables, edging and other obstacles. Measure the area and access path. Scarifying creates more debris than many people expect, so plan collection before starting.
Make the first pass a careful one
Step 5 — Start shallow
Set up the machine using AGEH’s handover instructions. Make a short test pass in a less visible area, then inspect what came out. It is easier to make another controlled pass than to repair a lawn treated too aggressively.
Step 6 — Work in tidy, overlapping lines
Walk at a steady pace. Keep hands and feet clear, stop the machine before clearing material, and never change settings while moving. A second direction may be suitable for a robust lawn with heavy thatch, but it should not be automatic.
Step 7 — Collect the debris
Rake or vacuum the lifted material so it does not settle straight back into the canopy. The lawn may look open and untidy. That is expected, but bare or damaged areas still need the right recovery plan rather than extra passes.
Step 8 — Support recovery
Water and feed only in a way that suits the grass, season and product label. Keep traffic light. If you are also aerating or topdressing, decide the full sequence before hiring so each step supports the next.
Equipment worth discussing
- Billy Goat scarifier for confirmed excessive thatch.
- Mower for the preparation and follow-up cuts.
- Billy Goat vacuum or suitable collection equipment for debris.
- Billy Goat aerator if compaction is a separate problem.
- ECO 250 spreader if suitable topdressing follows the renovation.